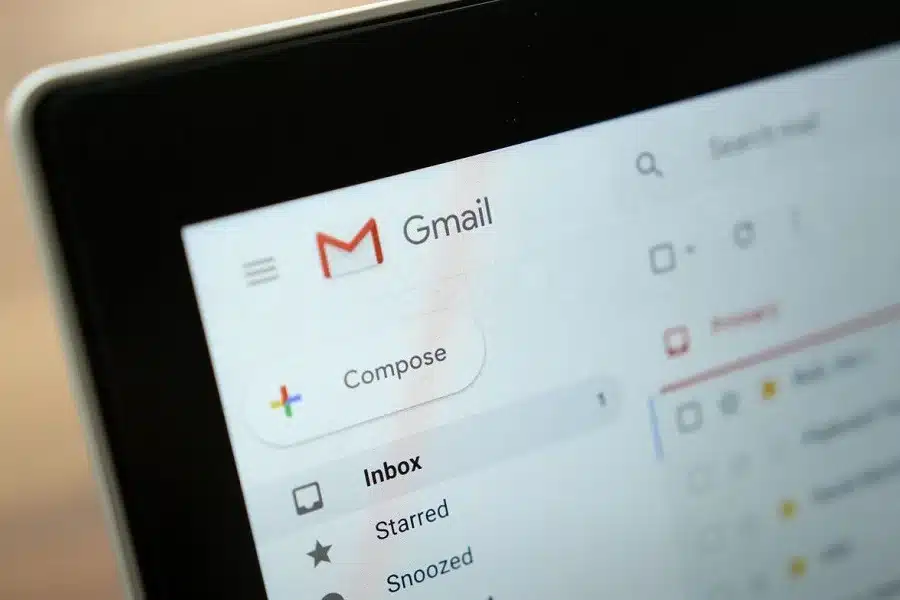
There might be instances when some of the folders in the Gmail account will be disappeared. You can click on More Link to see all of them but doing this all the time is annoying. We are here with the settings through which you can control the folders which you want to see on the left menu of Gmail. It will help you to minimize reduce clutter if you use a lot of email labels. Let’s move ahead with the steps to collapse the sidebar in Gmail for a better view interface and easy access.
Quick ways to Collapse the Sidebar
The Gmail sidebar is the area on the left that will show the Sent items, Inbox, Drafts, and many more like this. It consumes a lot of screen space on the small device. To change the sidebar by collapsing it, click on the hamburger menu from the top left of the app. You can see the icons from the sidebar and click on the hamburger icon to see the Full sidebar once more.
Choose What to See in Sidebar
The sidebar includes things you will definitely use but it might show the items which you rarely use or never use like All Mail.
You will see “More” from the bottom of the sidebar that is there by default. It will hide things that you rarely use and you can choose the things by dragging-dropping from the sidebar. Users have option to hide them from the “More” option that appears there.
You also can drag and drop into the sidebar any labels under the “More” which you use so they will always be visible. You also can drag and drop to rearrange the labels.
Collapse Google Hangouts Window
Many people don’t use Google Hangouts for phone calls or chats, you can hide the chat window under the sidebar.
- You can click or tap on the Settings cog icon that will be there at the top right app. Choose “Settings” from the appeared window
- Click or tap on “Chat” and choose the “Chat off” option and click on “Save Changes”
- Gmail will reload without the chat window. If you want to turn it back on, you will need to go back to the Settings and go to Chat and choose the option “Chat On”
- If you use Google Hangouts but want to collapse the chat window that will be there at the sidebar’s bottom, you can see it on the right side
- For that, click or tap on the Settings cog from the top-right of the app and choose “Settings”
- There go to the “Advanced” and go down to the “Right-side chat” section. Click on the option “Enable” and click on “Save Changes”
Gmail will reload with the chat window on the right side of the interface
Change Emails Display Density
By default, Gmail displays the emails with a vast amount of space between them includes an icon that checks the attachment type. If you want to make your email more compact, click on the Settings cog at the top right of the Windows and choose “Display Density”.
You will be redirected to a menu “Choose a View” there, you can choose “Comfortable”, “Default” o “Compact”. The “Default” view shows the attachments icon whereas “Comfortable” doesn’t show. In the compact view, there will be no attachment icon, but it also lessens the white space between messages. There you have to choose the density option which you want and click on Ok.
You can get back to this menu anytime to change the density settings
Enable Hidden Email Preview Pane
Gmail comes with a preview pane but it is turned off and you manually have to enable it.
- Go to the Settings icon from the top-right and choose “Settings”
- There you have to choose “Advanced” and scroll down to the “Preview Pane” option
- Go to the “Enable” option and click on “Save Changes”
An alternate way
There is an option you will get when you hover the mouse on the label in the left panel. You will see the three dots that appear on the screen. You can choose to hide or show the folders in the label list or in the message list.
Gmail will come with either a vertical or a horizontal preview panel. These are the way through which you can collapse the sidebar of your Gmail account.

